Method:
For these I started out by casting on 108 stitches using the cable cast-on method. This is pretty much where my technicality withers into a mishmash of knowing what I'm doing and guesswork, so if you were thinking you could follow this pattern mindlessly, you can think again. If however you don't have any interest in knitting jargon, you can go ahead and skip to the pictures. Then I made ribbing (K2P2) for some number of rows that felt right. Then went back to regular knitting for a while, then decided to do a row of purling on the knit side, which is how I got that thin stripe. Then maybe 3 rows of knitting, then I started the moss or seed stitch, which is just offset purls and knits so they make a tile pattern. Then I kept on knitting for a bit until I felt the need for more thin stripes, and continued until the length of the piece I had seemed sufficiently long. I based this length off our current (boughten) wool soaker. I made a gusset as shown in this pattern. It went okay, but probably not as well as it might have if I knew what the heck I was doing. I might have already made the rise too tall, so I cut the gusset a bit shorter than I might have. Probably not the wisest decision. Then I began the legs by dividing the row in half, inserting a lifeline to hold the half I wasn't currently working on, transferring the half I was working on onto double pointed needles and working in the round down to the bottom cuff, which was more K2P2 ribbing. I cast off, went back and did the other leg.
Things I discovered while doing this project:
While looking up how to do a stretchy cast on and seed stitch, I found out that there are two kinds of knitting: Continental style in which the yarn leading to the ball is held taut in your left hand, and English style, in which the yarn is held taut in your right hand. Due to the mechanics of this and how you have to switch your yarn from front to back to change between knitting and purling, ribbing goes a lot faster if you are using the Continental method, though it is less forgiving of correct tension than English. What I found out about myself was that in my prior ignorance, I had already been doing Continental purling, and English knitting, to balance the work between my hands for their relief. It took a while but I taught myself how to knit from the Continental side so I could do this speedy ribbing (or seed stitch). I still switch back to English knitting if I'm doing a whole row. Now I'm getting the hang of the Continental, and really prefer it.
The results:
 | |
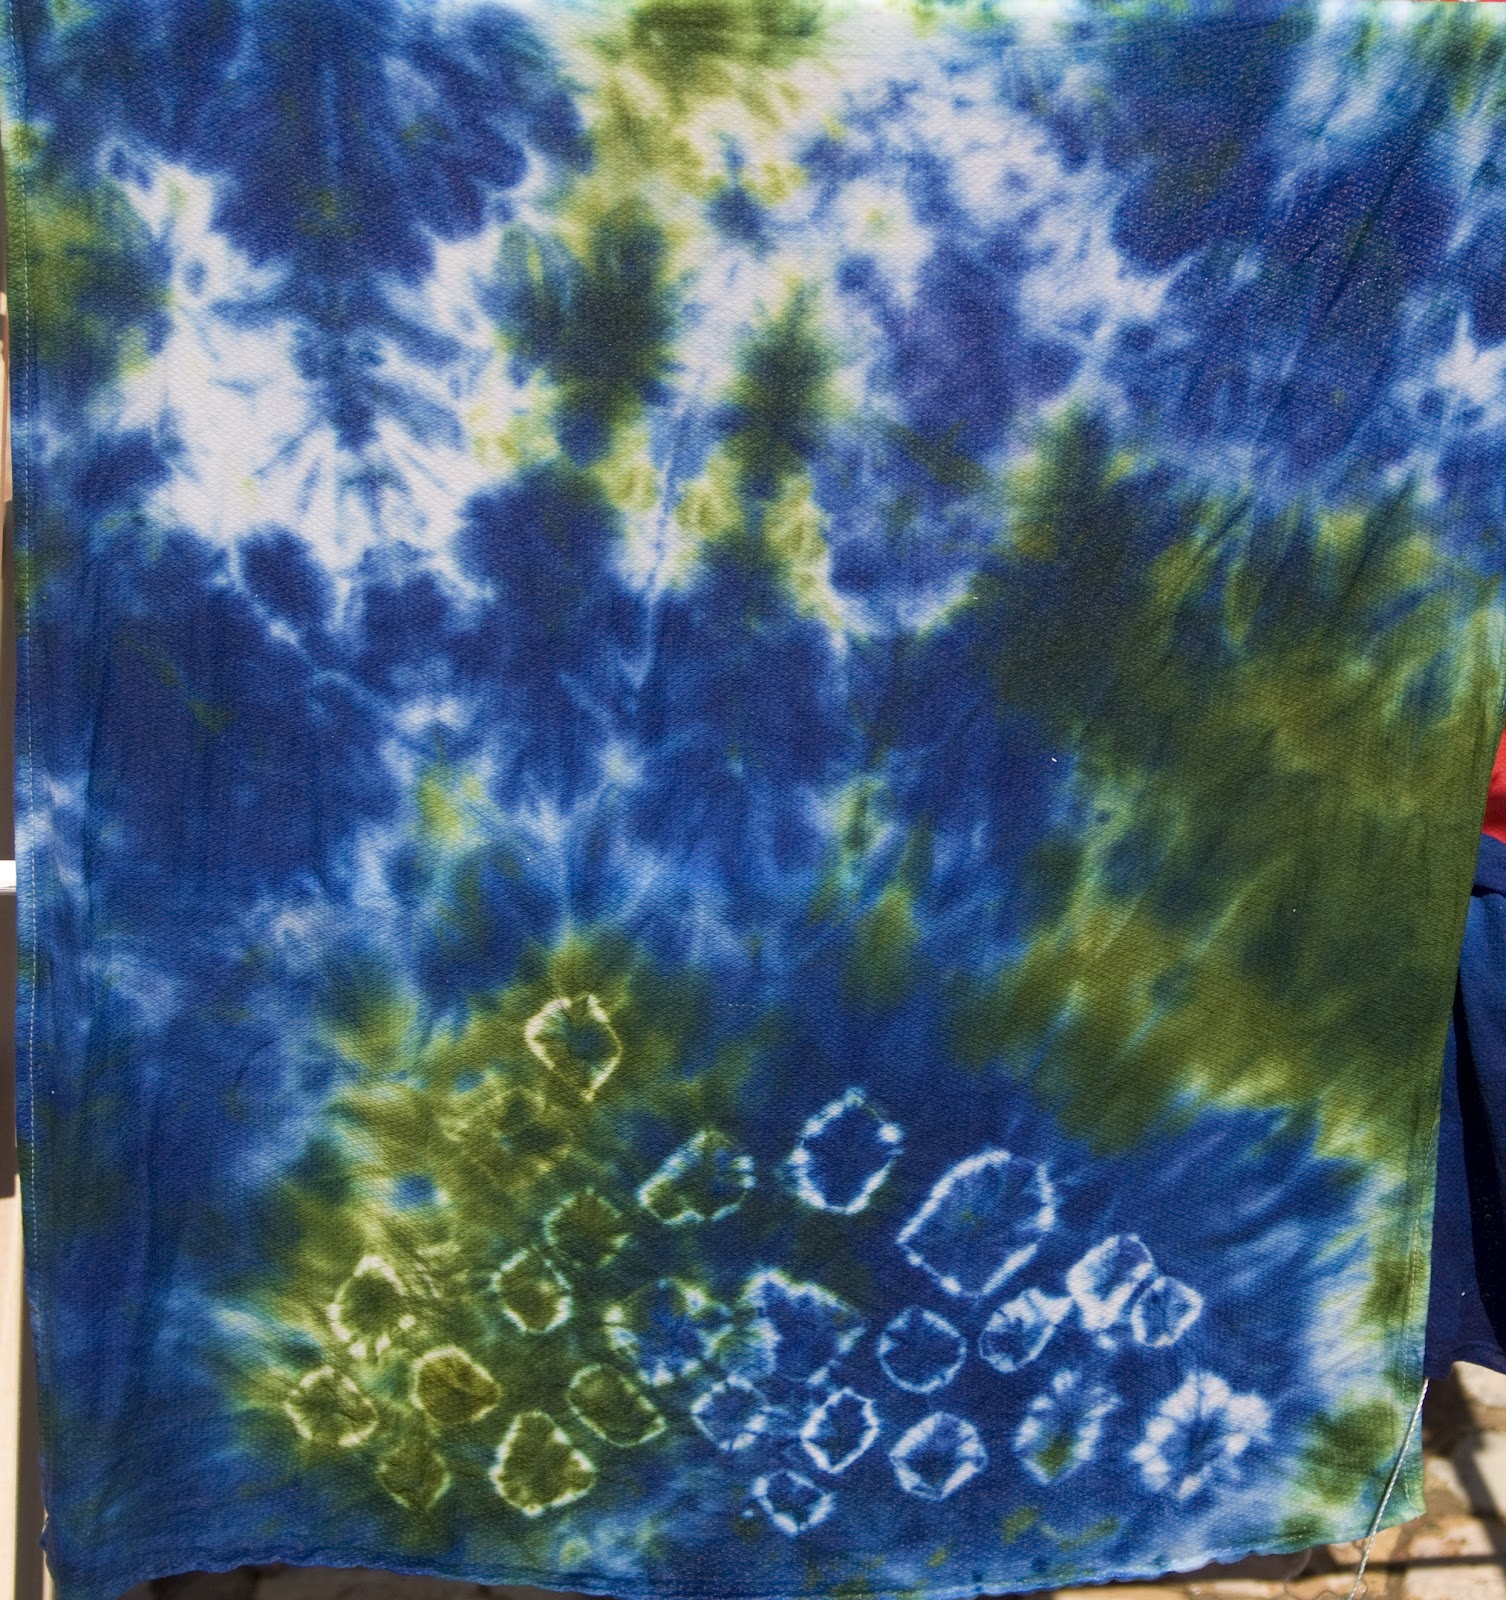
| Knit longies. |
 |
| A trial run. |